How to Make a Mushroom Spore Print: Step-by-Step Guide
Knowing how to make a mushroom spore print is one of the first practical skills many mycology enthusiasts learn. A spore print reveals the colour of a mushroom’s spores and provides material that can later be examined under a microscope.
Whether you’re interested in mushroom identification or learning more about fungal biology, this guide explains how to make a mushroom spore print safely and accurately.
What Is a Mushroom Spore Print?
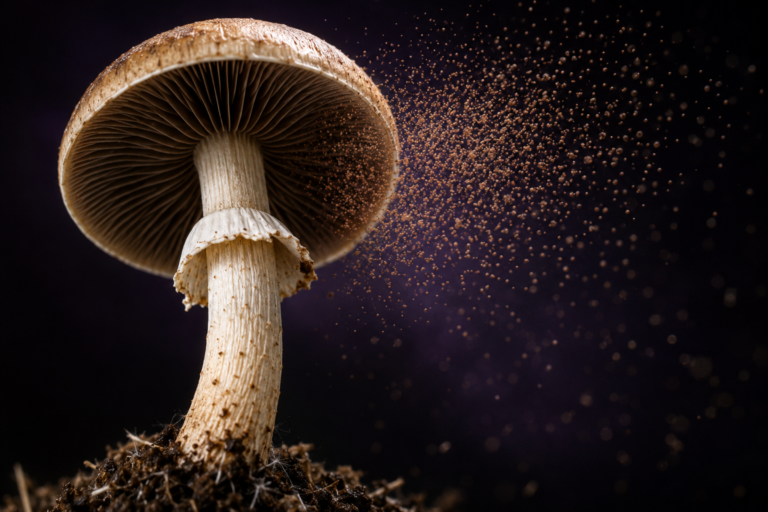
A mushroom spore print is the pattern created when millions of microscopic spores naturally fall from the gills of a mature mushroom onto a clean surface.
Learning how to make a mushroom spore print helps mycology enthusiasts observe spore colour, preserve specimens and better understand fungal reproduction.
Equipment You’ll Need
Before learning how to make a mushroom spore print, gather the following items:
- Fresh mature mushroom
- Aluminium foil or white paper
- Glass or bowl to cover the cap
- Clean scissors or knife
- Gloves (optional)
Having clean equipment helps produce a clear, well-defined spore print.
Step 1: Remove the Mushroom Stem
Using a clean knife, carefully remove the stem as close to the cap as possible.
This allows the mushroom cap to sit flat against the foil or paper so spores can fall evenly.
Step 2: Place the Cap Gills Down
Position the mushroom cap with the gills facing downward onto the clean foil or paper.
This is the most important step in how to make a mushroom spore print, as the spores naturally fall from the gills onto the surface below.
Step 3: Cover the Mushroom
Place a clean glass, bowl or container over the mushroom cap.
Covering the mushroom reduces air movement and helps prevent the spores from being disturbed while they are settling.
Step 4: Wait for the Spore Print to Develop
Leave the mushroom undisturbed for approximately 6 to 24 hours.
During this time, millions of microscopic spores are released from the gills, gradually creating a visible print.
Step 5: Remove the Cap Carefully
Lift the mushroom cap straight upward.
A successful spore print should reveal a detailed pattern that mirrors the arrangement of the mushroom’s gills.
How to Store a Mushroom Spore Print
Once complete, allow the print to dry before folding the foil or placing it into a protective sleeve.
Store it in a cool, dry location away from direct sunlight and excessive humidity.
Proper storage helps preserve the print for future microscopy and identification.
Common Mistakes
When learning how to make a mushroom spore print, beginners often make a few common mistakes:
- Using immature mushrooms
- Moving the mushroom before the print develops
- Allowing moisture to collect beneath the cap
- Storing prints before they are completely dry
Avoiding these mistakes produces cleaner and more useful spore prints.
Frequently Asked Questions
How long does it take to make a mushroom spore print?
Most mushroom caps produce a visible spore print within 6–24 hours depending on the species and environmental conditions.
Can you make a spore print on paper?
Yes. White paper, black paper or aluminium foil are commonly used depending on the expected spore colour.
Why are spore prints important?
Spore prints help identify mushroom species by revealing spore colour and provide material for microscopic examination.
Final Thoughts
Learning how to make a mushroom spore print is an excellent introduction to practical mycology. With only a few simple materials and some patience, you can create detailed spore prints suitable for microscopy, fungal identification and long-term collection.
As you continue learning about fungi, mastering how to make a mushroom spore print will become one of the most valuable skills in your mycology toolkit.
Learn more about fungal taxonomy at MycoBank.